Tuesday 28 June 2016

Upcycled Wooden Box: Faux Leather

Created especially for the recent Sheena Douglass design team call out, I turned this wooden box into something that will never end up on a craft stall!  The paper technique is called Faux Leather by Sheena Douglass and involves turning kraft card into a soft chamois leather effect using a mix of water and glycerine. 

WP_20160628_006 (2)

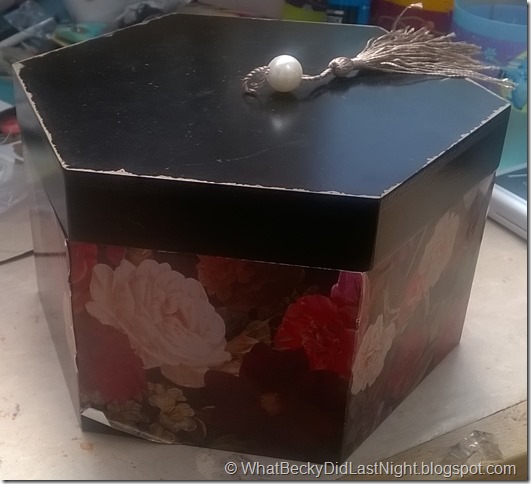
Here’s a photo of the sorry looking box before starting… this is NOT a second hand box, this is exactly how on found it on the graveyard self in my supermarket – heavily reduced, scratched, chipped and dodgy decoupage peeling off.  It’s a good size and made from wood, so as a crafter I had to save it!

WP_20160628_004

On the night before the renovation began I made up five sheets of A4 faux leather.  You can find a tutorial here: https://www.youtube.com/watch?v=EfunaRazSSo or on Sheena’s messy crafting DVD.  The next day I took some measurements and cut down some of the pieces to the right sizes for all of the panels on the box (with a little bit of overhang to get a nice finish later on).

For the background panels I used Sheena’s A4 embossing folder with the ivy leaves on it.  Using the remaining faux leather I die cut and embossed using Sheena’s fence, daisy border, briar rose and day of the dead dies.

Next came colouring up the pieces… normally I do a red-brown colouring (which I did do for the background) but I wanted to try making up green, blue, purple and yellow leathery pieces too.  To get that effect ink up using the base colour first, then go over with at least two different shades of brown.  I use distress inks. 

WP_20160628_002

Then at long last came the assembly stage.  I adhered the background with Colall tacky glue and sanded off the edges with a sanding block. Then I went around the sanded edges again with my darkest brown ink.  Then I stuck down the fence, daisy border and ivy leaves before I sealed everything with Pebeo’s Bindex medium.  This is the part that gives it durability and a shiny/satin finish.  You can use gel medium or spray varnish for paper. 

It was this point that I realised that the original tassel on the box was half decent so I poked a hole through my lid leather and reinserted it.  Then I added all of the diecut flowers but only after sealing with the bindex separately (so that I could paint it on flat before shaping later on the lid). 

And here is the finished result…

WP_20160628_015


WP_20160628_010

Friday 24 June 2016

Art Journal: Your Wings Exist

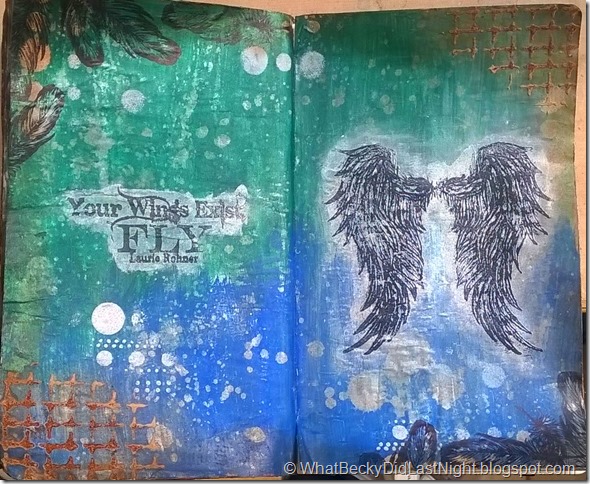
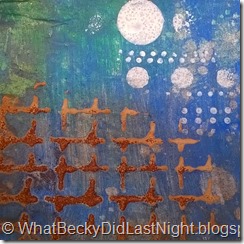
I’ve pulled together a few techniques for this art journal page.  All of the stamps and stencils used are by Sheena Douglass.  The background is created by lifting off paint using water splashes.  It’s hard to see in the picture but by using a metallic base coat the coloured washes on top have a sheen to them.  It’s quite a masculine look but I like that the angel wings soften it.  The rust effect is a nice touch and is created by using texture past and distress embossing powder.

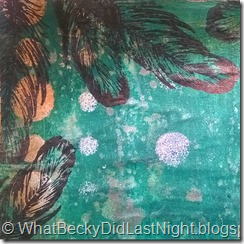
Scroll past the video for list of materials and close up photos…

Ingredients

  • Acrylic paints in metallic silver, metallic black, blue and green
  • White Gesso by Pebeo
  • Texture Paste by Pebeo
  • Distress Embossing Powder in Vintage Photo
  • Stencils by Sheena Douglass: Distress Grid and Pop Dotty
  • Stamps by Sheena Douglass: Falling Feathers and Divine Inspiration
  • Embossing Powder
  • Perfect Medium and Archival Black Ink by Ranger
  • Distress Ink in Vintage Photo

WP_20160624

WP_20160624_003WP_20160624_007WP_20160624_004WP_20160624_006

Sunday 19 June 2016

Pebeo Mixed Media Canvas: Dolls House Window

I created this canvas for Pebeo's UK Mixed Media Competition and was thrilled to be selected as a finalist. Pebeo make all of my favourite mixed media materials. This canvas has been created using the high viscosity acrylic paints, vitrail paints, texture paste, fantasy paints, prisme paints and vitrail outliner. The Dolls House window is a spare from the dolls house that I have made at home and was originally plain wood. I painted it to look realistic to juxtapose from the abstract canvas.


WP_20160423_18_39_18_Pro 1

Monday 13 June 2016

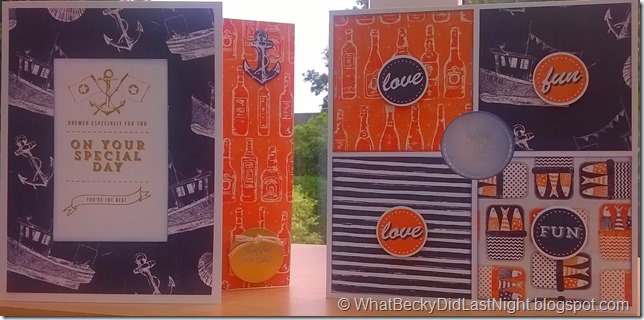
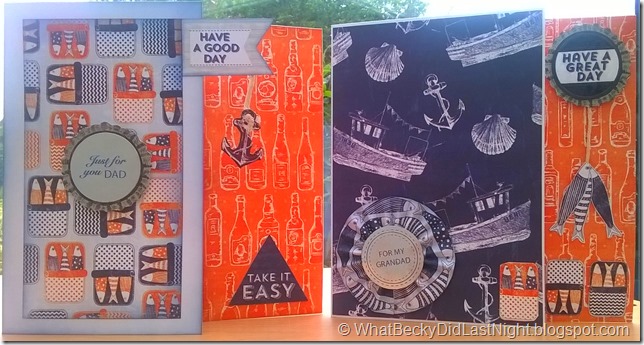
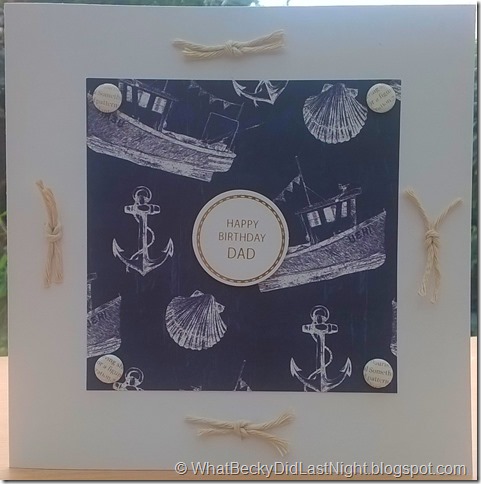
Card Making: Take It Easy by Craftwork Cards / Father’s Day Cards

With Father’s Day coming up here in the UK I need to top up my card stand with some nice cards for the dads out there!  I’ve used the Take It Easy collection (paper pan and die cuts), additional foiled sentiments by Craftwork Cards, glossy accents, distress inks in Worn Denim and Spiced Marmalade and some string.  I used the inspiration sheet which came with the kit to get started.  My favourite thing to do with any paper is cut out mini elements.  Finally, a few cards have some Candi pieces which is a foiled newspaper print.  The Candi and the foiled sentiments are great for inking!

WP_20160608_009WP_20160608_011WP_20160608_012

WP_20160608_015

WP_20160608_014

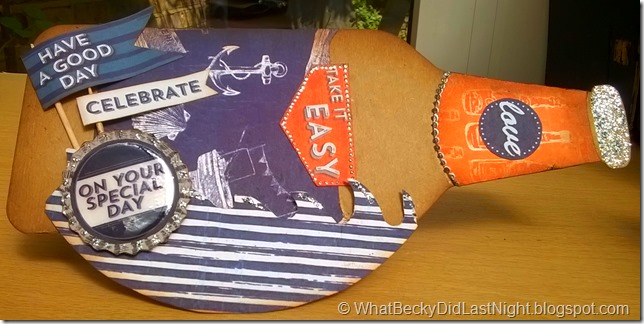
The bottle cards came with the kit.  The one below was inked around the edges to give it form, then attached to a square card which was altered into a rocking card – now it’s a bottle floating on the waves!!!

WP_20160516_009WP_20160516_011

Glossy accents on the bottle tops works particularly well and some glitter on the highlights of the ridges.  And don’t forget your cocktail sticks with your flags!

Card Making: Craftwork Cards Time Flies

The Time Flies paper pad by Craftwork Cards was my first purchase by them – and it’s still a go to design for me.  All of the cards below are 5 x 5” so are small, cute and quick to make.  I’ve used the diecuts that came with the kit and added Craftwork Cards foiled sentiments – most have been inked because the foiling retains its colours they are perfect for colouring to match your project.   I’ve also used some mixed pieces of candi (also by Craftwork Cards) and distress ink in Spun Sugar and Iced Spruce (this is a green grey as I noticed that the grey tones in the papers have a bit of a green tone to them).  A couple of cards also have a bit of Stickles in Gunmetal.

WP_20160608_003WP_20160608_004WP_20160608_005WP_20160608_006WP_20160608_007WP_20160608_008

Sunday 12 June 2016

Pebeo Mixed Media Winners Exhibition 2016

Huge congratulations to all of the other artists selected for the first UK Pebeo Mixed Media competition.  I was lucky enough to have one of my canvases selected!  Pebeo put on a special exhibition for us for a week at A&D gallery in London.  The standard of the art was amazing!  I love Pebeo products but I don’t have years of experience with their mixed media range.  Now that I have seen what can achieved with these products I am truly inspired.  I also got to meet the Managing Director of Pebeo UK.

Here is the finalists photo album on Facebook where you still have until Friday to like your favourites with the 1st place winner to receive £500 of art materials.  https://www.facebook.com/620749404714399/photos/a.928756547247015.1073741830.620749404714399/928757527246917/?type=3&theater (cheeky hint but mega loves to anyone who likes my Doll House canvas X)

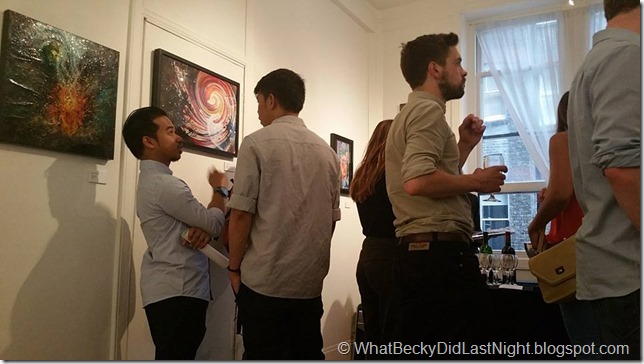
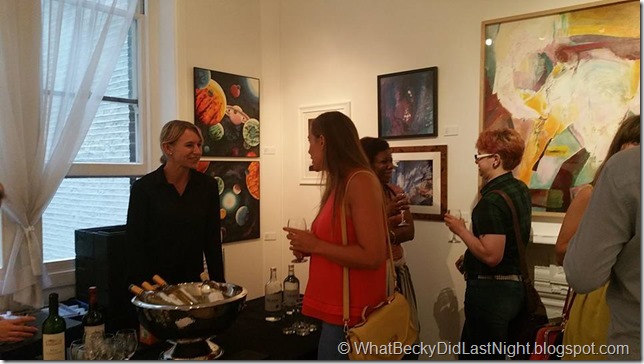
Here’s some photos from the event and stay tuned for a speed art video of how I created my canvas and watch out for future Pebeo creations from me!!!

Left to Right: Ligia (Pebeo UK social media), me and John Wright (MD Pebeo UK)

13406997_10156963449685591_3631979376209413394_n13407191_10156963448015591_9146034026987054115_n13407222_10156963448700591_4310887972085522058_n13427778_10156963448505591_7284899410091321257_n13432209_10156963449870591_2121912993637790870_n

Me and my canvas!  P.S. do you notice my necklace?  I made it with Pebeo products!!!

My canvas in full – yes, that’s a real dolls house window!  Open-mouthed smile

Art Journal: Believe

This is a lovely technique that I recently saw demonstrated by Leonie Pujol.  I have used what I already had in my stash including these beautiful stamps by Craftwork Cards which were perfect for this.  They are the Scrumptious stamps and I used a few squiggles from the Scrumptious Sentiments stamps.  Ideally you need to use clear stamps for this so that you can get them very close to each other.  I’ve created my own mask using Pebeo’s drawing gum but Leonie also has reusable word masks for this techniques.  You could stop before colouring in your stamps or go for whatever colours you like.  I get a warm Indian vibe from these stamp designs so I chose my colours to match.  If you love this technique please have a look at Leonie’s blog here: http://leoniepujol.blogspot.co.uk/2016/04/pattern-building-this-is-how.html

Ingredients

  • Pebeo drawing gum
  • Distress Inks: Tattered Rose, Dried Marigold
  • Archival Black ink by Ranger
  • Clear Stamps: Scrumptious and Scrumptious Sentiments by Craftwork Cards
  • Spectrum Aqua pens in various oranges, pinks and reds
  • Spectrum Noir pen in True Black
  • Stickles glitter glue: Orange Peel and Orange Pieces

WP_20160612_007 [1967474]

WP_20160612_002WP_20160612_003

Wednesday 1 June 2016

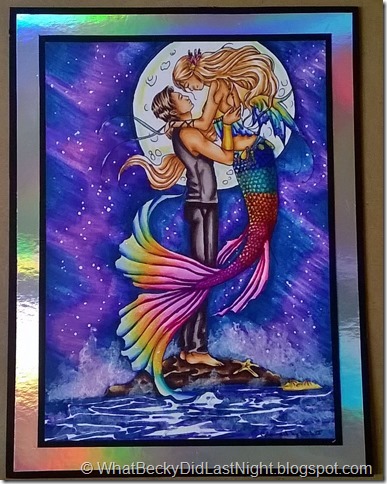
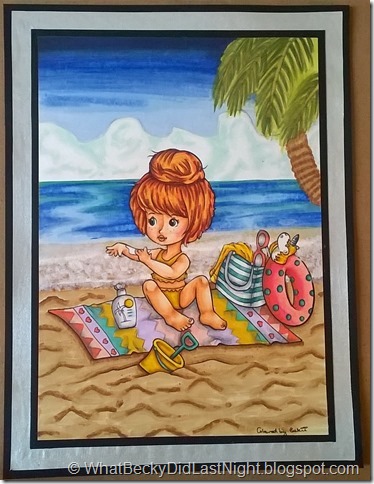
Colouring: Spectrum Noir Selection

I’ve put together a selection of my favourite finished pieces coloured with Spectrum Noir products (pens, pencils, aqua blend pencils and pens).  I hope you enjoy them.

Spectrum Noir ColourBlend pencils onto a plain card which had been covered with clear gesso for a sharp grit…

WP_20151102_21_52_27_Pro

Spectrum Noir Pens onto Neenah cardstock

WP_20160530_001 1WP_20160530_003 1WP_20160530_004 1WP_20160530_005 1WP_20160530_007 1WP_20160530_008 1WP_20160530_011 1

Spectrum Noir Pens and ColourBlend pencils together

WP_20150528_002[4]

AquaBlend Pens

N.B. The front surfboard is pebeo paints onto accetate

WP_20160313_19_41_21_Pro_thumb[1][5]

AquaBlend Pencils

WP_20160301_10_04_05_Pro 2[3]