Sunday 31 July 2016

5 Background Techniques with… Pebeo DYNA Paints Volume 1

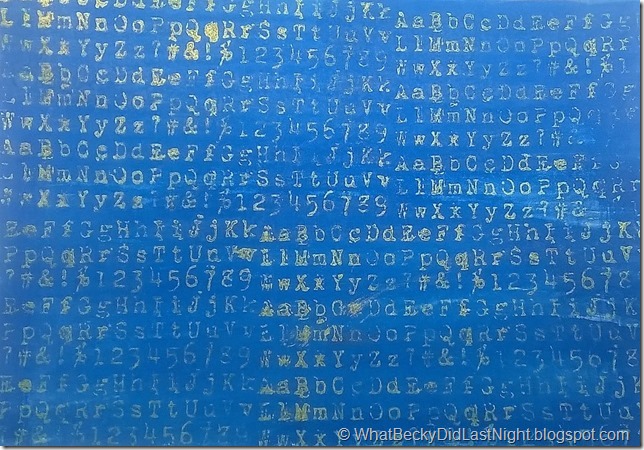
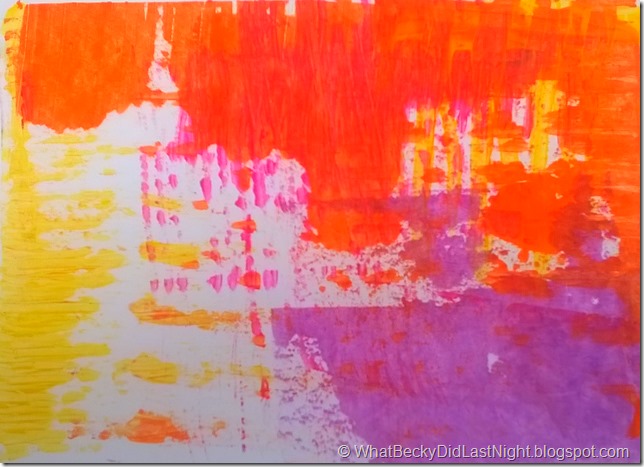
What are dyna paints and why their own set of techniques in addition to regular acrylic paints?  Good question!  Pebeo’s dyna paints are part of the high viscosity acrylic paints that they do but are extra special – each one is made of a shiny pigment colour and a different interference colour, so when it catches the light they are effectively two-tone.  Even more magical is their ability to appear different depending on the colour of the background (i.e. white card vs. black card).  Until cameras and monitors become sophisticated enough to capture the shine I hope you will see some of the effect in the video, but believe me when I say that the effect is wonderful!  As with other acrylic paints feel free to pop on over to my acrylic paint background techniques as those will work with these paints too.  Click here for a full list of my technique pages.

Techniques covered in this issue are:

  1. Simple blend
  2. Stamping (on black surface)
  3. Watercolour resist
  4. Sponging (same two colours shown on black and white)
  5. Gel medium tinting

1

1. These paints blend on surfaces very well and can take a lot of water to help with a smooth blend, not only do you end up with a blend of the base pigment but also the interference pigments too.

2

2. I have sponged two colours onto a background stamp before stamping onto black card to give this fabulous result.  Just remember to wash or at least soak your stamp as soon as possible.

3

3. I have stamped my background by sponging onto the stamp as before, but this could easily be any free hand paint on the background.  Acrylic will resist watercolours so I have washed over the top with aquatints.  You will still retain all the shine of the paints.  My personal favourite is stamping in a lighter colour and washing with a darker colour.

4

4. I’ve picked this technique to also demonstrate the difference between painting onto a black surface vs. a white surface by painting half the card with Pebeo’s black gesso.  Now you can see that the gold is actually green and the blue is actually pink in my example. 

5

5.  I wanted to test the effect out when mixed with gel medium.  This gives a different effect as now the colours seem almost pearly.  I’ve used a gloss medium for a high shine finished and both applied directly with a spatula and through a stencil.

Don’t forget to subscribe to my YouTube channel and/or subscribe to my blog updates to get alerted to the next edition to this series.

Saturday 30 July 2016

Art Journal: Hello Darkness My Old Friend

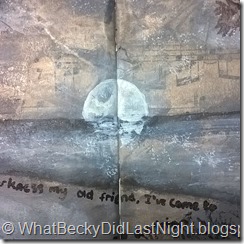
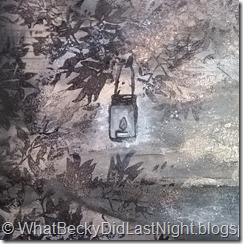
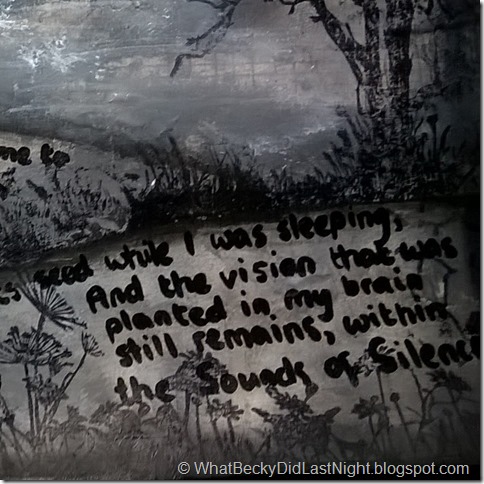
I’m pretty sure I’m going to divide opinion on this one – I wanted to challenge myself to create something in only greyscale this time.  The inspiration ended up being the music video for the cover of the Sound of Silence by Disturbed which has been beautifully directed.  I’ve used Pebeo acrylic paints in only mars black and titanium white, Tim Holtz tissue wrap and stamps by Sheena Douglass.  I’m curious to know what you think of this spread as I know it’s a lot moodier than what I normally do but art journaling is all about playing and trying things out!

Ingredients

  • Pebeo High Viscosity Acrylic Paints – Titanium White and Mars Black
  • Tim Holtz Tissue Wrap – Menagerie
  • A Little Bit Sketchy Silhouette stamps by Sheena Douglass
  • Black Archival Ink by Ranger
  • Spectrum Noir pen in true black
  • White Gesso by Pebeo
  • Gel medium by Golden

WP_20160729_001 [472425]

WP_20160729_003WP_20160729_004WP_20160729_006

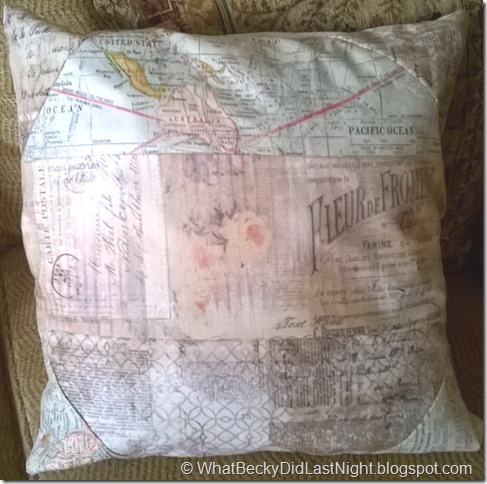
Tim Holtz Eclectic Elements Fabric Patchwork Cushions

My mum got a new brown leather sofa and in conversation one day she asked me “what colour cushions do you think we should get?” to which I replied “well mother, I don’t recommend a colour but I can recommend some fabulous printed cottons which would be perfect for you!  So after spending an hour or so picking out the perfect fabrics I offered to make the cushions for her and I’m pleased to say that her and her husband were very pleased!  The fabrics were a delight to work with and I have a wedge of scraps to use on my own crafty projects hip hip hooray!!!  N.B. The cushions were 18” square.

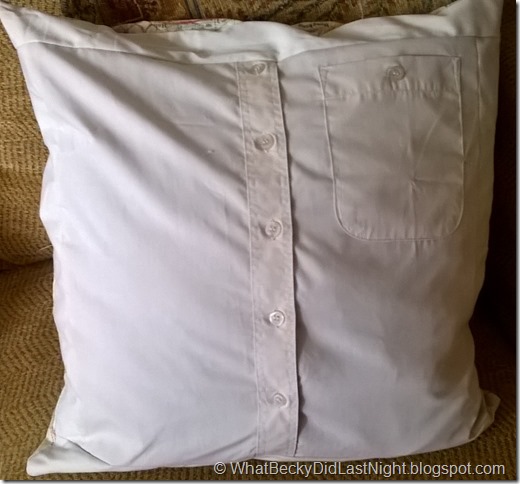
Here are the finished cushions – for the backsides I started by creating an envelope fold using an old pair of trousers and a couple of shirt backs.  This was enough for two of the cushions but for the third one I had a crafty little trick up my sleeve to surprise them… it was a gamble…

WP_20160728_001WP_20160728_003WP_20160728_006

So two of them have backs like this…

WP_20160728_007


And the third was fashioned from one of the shirt fronts (and sleeves for the border).  They were very pleased with the secret stash pocket!

WP_20160728_002

And just for fun here’s how I went about sketching the ideas out and working out the measurements.

WP_20160728_013 [472423]WP_20160728_014 [472424]

Sunday 24 July 2016

5 Background Techniques with… ACRYLIC PAINTS V.1

Welcome to a new collection of background techniques – this time with Acrylic Paints!  For a full list of techniques head over to this page and keep an eye out for future releases.  I am using Pebeo High Viscosity paints.

This time we cover the following techniques:

  1. Baby Wipe Blending
  2. Stencil Lift (from Gesso’d Surface)
  3. Streaks with Titanium White and Buff Titanium
  4. Printing with any objects or textures
  5. Scraping on

WP_20160724_001

1. This is simple to do and blendability is dependant on the surface you’re using and the paints.  Make sure you rotate the area of the baby wipe to keep the colours clear.

WP_20160724_005

2. Working on a gesso surface means that the paint lifts off much better but isn’t necessary.  I love this effect, even though the image is completely flat the depth of pigment in this paint gives it a 3D effect.

WP_20160724_007

3.  You can take any colour and paint it on with hardly any blending by adding Titanium White and Buff Titanium (pale cream colour).  This will work with any colour for a background that looks impressive yet subtle.

WP_20160724_008 1WP_20160724_010

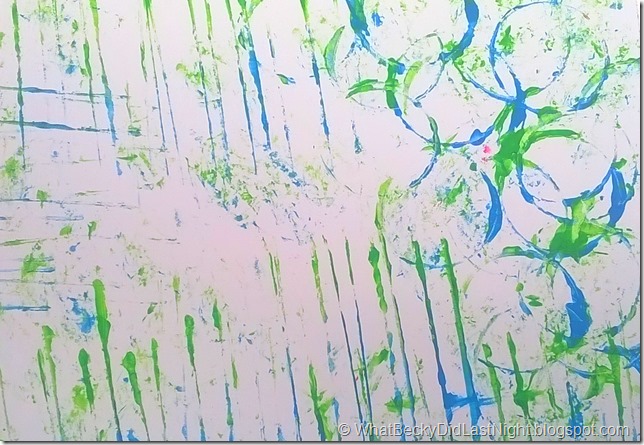
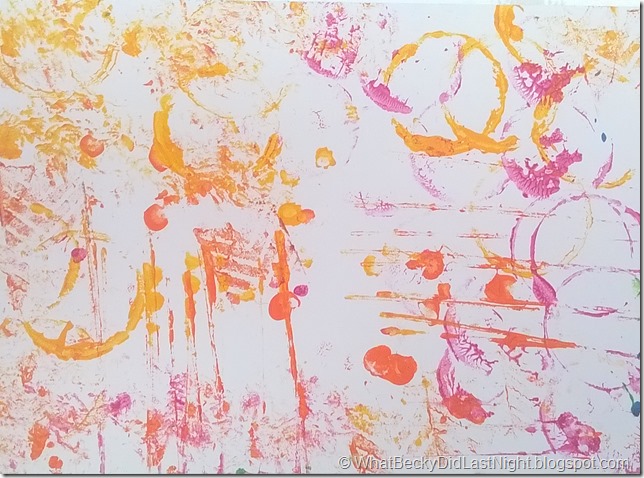
4. There’s no need to buy anything to apply your paint just use whatever objects and textures that are in reach.  The top picture shows the objects dipped into two colours of paint at a time whereas the bottom picture shows each object printing in separate colours.

WP_20160724_015

5. I’ve left a couple of sides of an old card straight and cut into the other couple of sides with different sized notched.  You can try different ways to scrape the paint across your surface.  It also adds texture.

Friday 22 July 2016

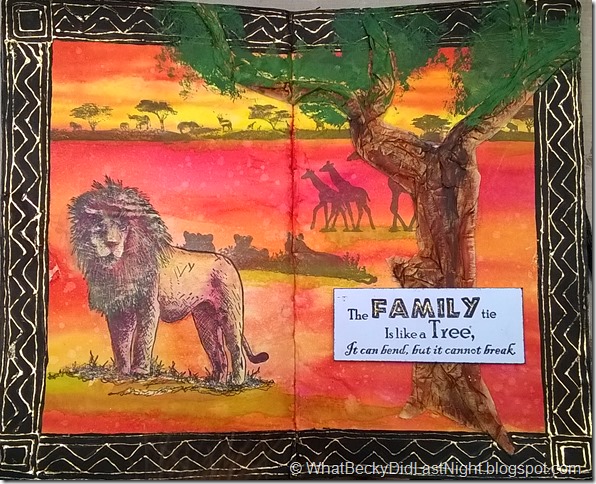
Art Journal: The Family Tie is Like a Tree

I have taken a card which I recently made and turned it into an art journal page firstly because there were some really cool techniques involved and secondly to share with you how I can adapt cards for art journal pages and vice versa.  Included in this page is a simple watercolour background using Spectrum Noir Aquatints, colouring using watercolour pencils (Aqua Blend by Spectrum Noir), foiling technique using mixtion relief and a masking tape tree painted with Pebeo acrylic paints.  All of the stamps are from Sheena Douglass A Little Bit Sketchy range and work together beautifully.

Ingredients

  • Aquatints by Spectrum Noir
  • AquaBlend Pencils by Spectrum Noir
  • Black Gesso by Pebeo
  • Acrylic Paints by Pebeo
  • Mixtion Relief and Gold Foil by Pebeo
  • Modelling Paste by Pebeo
  • Drawing Gum by Pebeo
  • Archival Ink in Black and Watering Can by Ranger
  • Stamps by Sheena Douglass: A Little Bit Sketchy (multiple A6 stamp sets)
  • Masking Tape

WP_20160722_007 1

WP_20160722_009WP_20160722_010WP_20160722_011

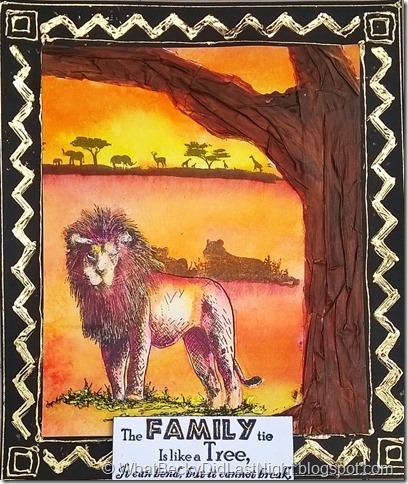
Here’s the original card:

WP_20160626_005 1 (2)

Sunday 10 July 2016

Tim Holtz–Summer of Creative Chemistry 2016

I’m taking part in Tim Holtz’s Summer of Creative Chemistry over at Online Card Classes and here’s a few reasons why I think you all should too! <3

SummerOfCreativeChemistry-Participant

  • The live forum’s with Tim Holtz have been reopened!
  • He seems to be answering every single question the people are asking
  • Recap Creative Chemistry 101 and 102 and surprise yourself!  When I first signed up to 101 and 102 I didn’t have that many supplies (mainly just distress inks) but I was thoroughly impressed with how much my stash has grown in the last year so I learnt even more techniques 2nd time round and recapped everything else to keep it fresh.
  • There are 4 sets of prizes given out each week (which are decent prizes!)
  • Start your own sets of technique tags which you can refer back to forever
  • Even if you don’t think you have everything right now, there will still be plenty of techniques for you or maybe it will encourage you to have a go with other things in your stash.
  • Be part of the brand new Creative Chemistry 103 when it is released in a couple of weeks with the same live access to Tim that you would have got when 101 and 102 launched.
  • Learn why we do stuff, why it works, why this and that go together and why those things over there resist each other, which surface to use, etc…
  • Apply the techniques to whatever craft you do: card making, stamping, scrap booking, art journaling, etc…

Here’s my set of technique tags which I’ve created from this week’s recap of CC102 – week 2: stencilling.

WP_20160709_011

Mixed Media Canvas for Sheena Douglass

This is a mixed media canvas that I created for the designer Sheena Douglass.  The end result was really beautiful with all of its shiny parts and especially the mermaid whose tail catches the light beautifully.  I made it through to the 2nd stage of the recent Design Team Call out for Sheena Douglass and even though I wasn’t picked in the end I still wanted to share with you my makes and how I made my final round canvas featuring stamping, die cuts, stencilling and lots of Pebeo mixed media-ness!  The canvas had lots of super shiny elements thanks to the foiling and the Dyna paints.  For my samples that were made in the first round please scroll down past the video and past the ingredients list…

13528407_643338735842979_3190354352754178842_o

Ingredients

  • Gesso in White and Black by Pebeo
  • High density modelling paste and modelling paste by Pebeo
  • Crackle texture paste by Golden
  • Stamps by Sheena Douglass (mermaid and cracks)
  • Stencils by Sheena Douglass (pop dotty and equalizer)
  • Dies by Sheena Douglass (wild rose and day of the dead)
  • Embossing folder by Sheena Douglass
  • Acrylic paints by Pebeo (including Dyna colours)
  • Gelatos by Faber Castelle
  • Foil Gilding sheets by Pebeo (green and silver)
  • Drawing gum by Pebeo
  • Perfect medium by Ranger
  • Archival ink in Watering Can by Ranger
  • Spectrum Noir alcohol pens (skin tones)
  • Mixtion relief by Pebeo
  • Aluminium tape
  • Black card

Here’s my three makes from the first round:

WP_20160624_014(2) 

Day of the Dead Mini Canvas (click for blog post and video)

WP_20160626_005 1 (2)

Savannah Family Card – I’m planning on making this into an art journal page so make sure you’ve subscribed to my YouTube channel.

WP_20160628_015

Faux Leather Embossed Altered Box – click for the blog post

Saturday 2 July 2016

Mini Canvas: Day of the Dead

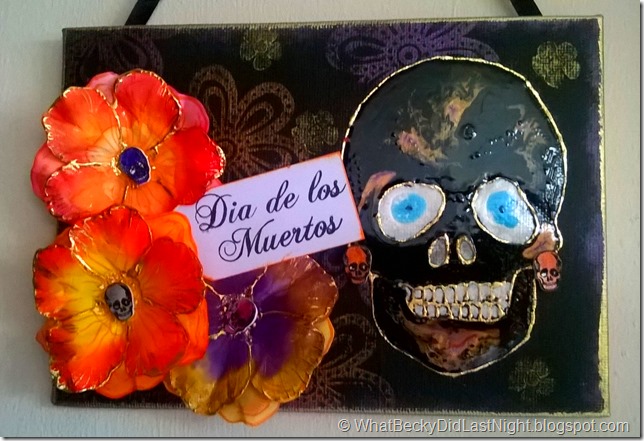
These mini canvas boards are great for experimenting ideas in smaller formats before going big!  I’ve attached ribbon to the back so that it hangs.  This picture has been created using some of the stamps and flower die from Sheena Douglass’s Day of the Dead collection. 

WP_20160624_012

Ingredients

  • Black Gesso by Pebeo
  • Acrylic Dyna Paints by Pebeo
  • Stamps by Sheena Douglass (Day of the Dead collection)
  • Black Archival Ink by Ranger
  • Mixtion Relief and Black Vitrail Liner by Pebeo
  • Vitrail, Fantasy and Prisme paints by Pebeo
  • Gilding Sheets by Pebeo
  • Archival Ink in Tiger Lily
  • Sparkle coloured gel pens
  • Shrink plastic
  • Printer paper
  • AquaTints by Spectrum Noir
  • Black Ribbon

WP_20160624_009WP_20160624_010WP_20160624_011