Wednesday 30 March 2016

Art Journal: A Better Garden

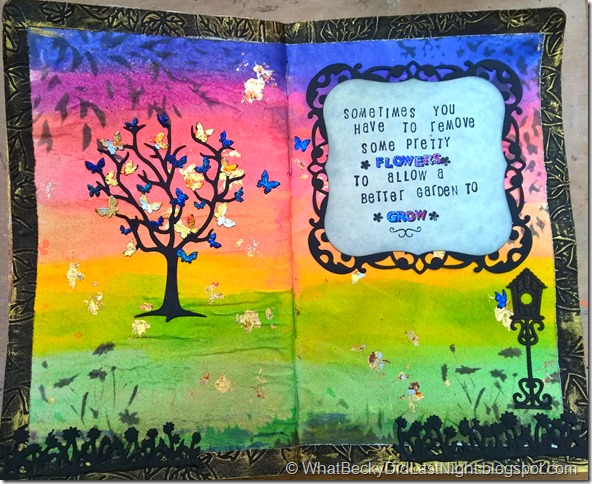
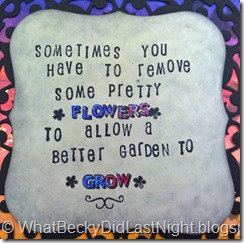
This page features one of my own personal quotes which my head created when I’ve previously had to let things go or move on unexpectedly.  It reads “sometimes you have to remove some pretty flowers to allow a better garden to grow”.  I still use this quote to help me make tough decisions.  There’s a lot of die cuts today and plenty of sparkle and shimmer – including the background which is painted in Twinkling H2Os.  Scroll down for full list of supplies and further photos…

Ingredients

  • Twinkling H2Os – various colours
  • Distress inks – Lucky Clover and Black Soot
  • Black Gesso by Pebeo
  • A4 Embossing folder – Ivy by Sheena Douglass
  • Dies – Labels One and Flutter Tree (inc. butterflies) by Spellbinders, Bird House by Diesire, daisy border by Sheena Douglass
  • Archival Black ink by ranger
  • Alpha stamps by Dovecraft
  • Sakura quickie glue pen
  • Cosmic Shimmer Flake and Glitter glue
  • Gilding flakes
  • Cosmic Shimmer ultra fine glitter
  • Pebeo gilding wax in Empire Gold
  • All stencils by Sheena Douglass
  • Homemade mica spray from Spectrum Noir Aquatints

WP_20160330_13_27_52_Pro

WP_20160330_13_28_00_ProWP_20160330_13_28_09_ProWP_20160330_13_28_20_Pro

Tuesday 29 March 2016

Art Journal: Forever Yours

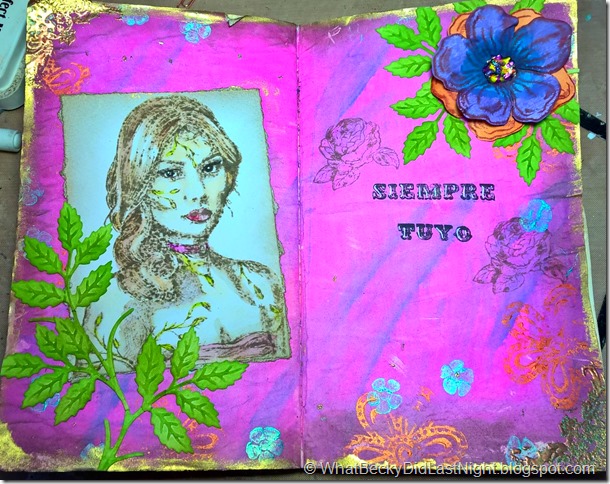
I’ve had a play with Sheena Douglass’s latest stamp range Day of the Dead to create this spread.  The focal point is the watercolour effect created by stamping with distress ink and then blending the ink with water to create shading.  Additional colours were then added from Spectrum Aqua Pens.  The sentiment which comes in the set “Siempre Tuyo” translates to Forever Yours.  As for the background, acrylic dyna paints were stamped before the aquatints to create a resist.  Scroll down past the video for ingredients and additional photos…

Ingredients

  • Watercolour card by Crafters Companion
  • All stamps by Sheena Douglass (Day of the Dead) – including the stamp and die for the paper flowers
  • Wild Rose die by Sheena Douglass (just the leaves)
  • Distress ink in Pumice Stone, Mowed Lawn and Peeled Paint
  • Spectrum Aqua Pens
  • AquaTints by Spectrum Noir
  • Pebeo Dyna paints
  • Black Archival Ink by Ranger
  • Pebeo Gilding Wax in Empire Gold
  • Liquid Pearls and Stickles glitter in various colours
  • Vintage Bronze Ultra thick embossing powder by Cosmic Shimmer
  • White pen by Sakura

WP_20160329_19_07_29_Pro

WP_20160329_19_07_53_ProWP_20160329_19_08_08_ProWP_20160329_19_08_14_Pro

5 Background Techniques with AquaTints Volume 1

Following on from my previous post 5 Background Techniques with Distress Inks, I am pleased to demonstrate another medium for you – Spectrum Noir’s AquaTints.  You’ve probably seen me using these here and there in my art journal videos but in case you are unsure these are a liquid watercolour ink in a variety of colours!  They are super pigmented and also include a silver and gold mica paint.

Techniques featured in this volume:

  1. Washed Watercolour Blend
  2. Mica Spray
  3. Chalk Paints
  4. Faux Bleaching
  5. Mica Resist

WP_20160329_13_38_47_Pro

1. To create a good washed background use a wide flat brush, a watercolour cardstock and spritz the card with water first.  This is called wet-into-wet.

WP_20160329_13_39_36_Pro

2. Using a small spritzer bottle add colour and a little water.  To create a mica spray take a pinch of either the gold or silver mica paint.

WP_20160329_13_39_12_Pro

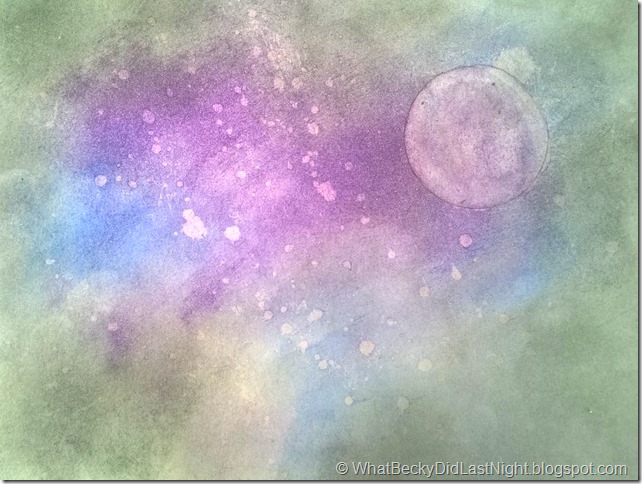
3. Create any sort of background and then use water to create a faux bleached effect.  In this example I lifted up a large circle which could be a moon and I splattered water drops from my fingers.  You water from a paint brush gently so as not to damage the paper’s surface and use a watercolour card to ensure that it will let go of the pigment. 

WP_20160329_13_40_14_Pro

4. You can mix AquaTints with white gesso to create a chalk paint.  Just remember that the colour will be paler than when neat.

WP_20160329_13_40_32_Pro

5. Stamp with the mica paints and allow to dry fully.  Wash over with your colours and they will resits the mica.  In my attempt I don’t think I let it dry enough as there is some smudging when I brushed over with my brush.   I used two colours to create a streaky finish.

Friday 18 March 2016

Altered Frames for Stamped Sheena Pictures (in Steps)

This technique was demonstrated by Sheena Douglass during one of her shows on Hochanda recently.  Essentially you take any cheap, old or unloved frame and give it a new look.  The materials used are Pebeo black gesso (which is a great choice as it really does give a good even one-coat finish), Pebeo Dyna acrylic paint (sorry but you won’t get the full experience of these special effect paints on a computer screen) and Pebeo gilding wax in Empire Gold.  It’s easy as 1-2-3!  This images I popped inside my frames were created with the Laguna Surf stamp set by Sheena Douglass.  The background stamps were coloured with Spectrum Aqua Pens and the foreground images were heat embossed onto acetate and coloured from behind with the Pebeo Dyna paints.

WP_20160318_14_36_17_Pro_thumb[1]

  1. Cover frame in black gesso

  2. Sponge dyna paints

  3. Apply gilding wax to all raised edges, dry then buff it

First Frame… from Poundland!  It started off horrible shiny white plastic which I enjoyed killing off with the gesso mwahahahaa…

WP_20160313_18_25_25_Pro_thumb[7]WP_20160313_18_51_29_Pro_thumb[7]WP_20160313_19_40_20_Pro_thumb[1]

Second Frame – a quality ceramic-like material

WP_20160313_18_25_36_Pro_thumb[7]WP_20160313_18_52_20_Pro_thumb[7]WP_20160313_18_58_50_Pro_thumb[6]

WP_20160313_19_41_21_Pro_thumb[1]

Sunday 13 March 2016

5 Background Techniques with Distress Inks Volume 1

Welcome to my new series which I have released over at YouTube focusing on a variety of background techniques for you to use.  This video starts you off with distress inks but keep an eye out for many other mediums.  As well as a video please scroll down for close up photos…

In this volume the techniques covered are:

  1. Foam Blending + Spritz with Water
  2. Faux Beaching + Splatters
  3. Stamping
  4. Gesso Resist Stamping
  5. Embossing Folder Press
WP_20160313_13_58_30_Pro

1. This is probably the first sort of background people play with when they get distress inks.  Using a foam applicator or piece of cut and dry foam lay down randomly your colours and overlap them.  Give it a spritz of water from a misting bottle and mop up excess with dry paper towel.

WP_20160313_13_58_16_Pro

2. Apply the colours as before (this time I’ve gone for more of a night sky look).  You can faux bleach with water and a brush for a moon shape and to create splatters you can flick water from your fingers.  Mop up the water with dry paper towel and this will lift your colour off.

WP_20160313_13_57_59_Pro

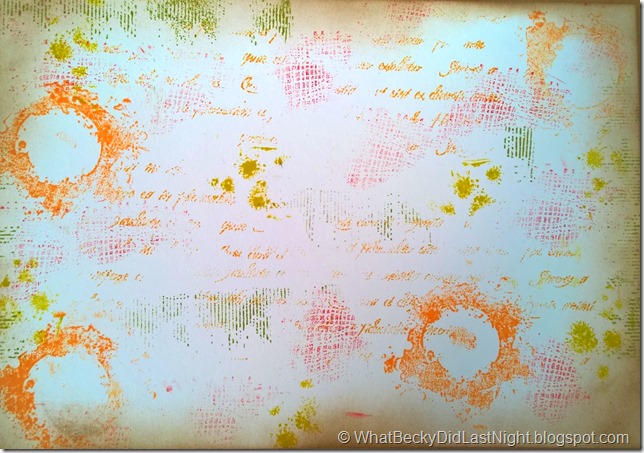
3. You can also stamp with distress inks.  For this background I have taken an assortment of my texture stamps from Crafter’s Companion and Sheena Douglass.  To finish I have distressed the edges to create a veneer. 

WP_20160313_13_57_36_Pro

4. Apply white gesso to your stamp (I’m using tissue to get a thin layer) and then stamp onto your card.  Make sure you clean your stamp well afterwards and make sure the card is completely dry.  Finish off with distress inks like in background 1.  For a subtle effect you can stop here or take a damp cloth or wet wipe and go over the gesso lightly.  You can lift a lot more ink off the gesso areas creating a contrast.

WP_20160313_13_57_04_Pro

5. Apply the ink pad directly to either side of your embossing folder depending on which way round you want it.  It will always be the debossed areas which will be inked.  Run it through your embossing machine as normal.  You will only get ink where the folder pressed into the card.

Art Journal: When You Believe

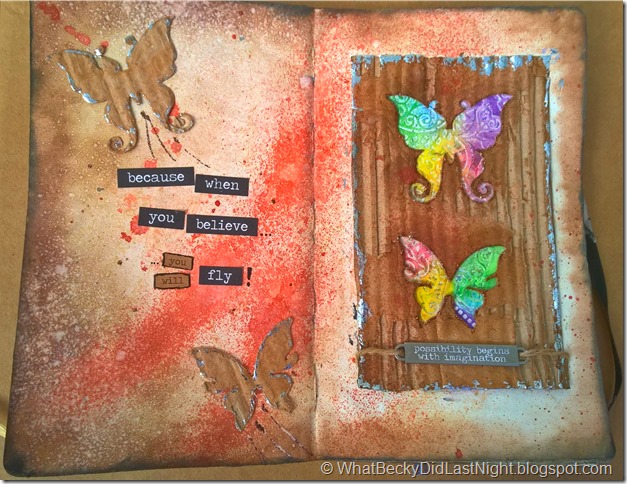
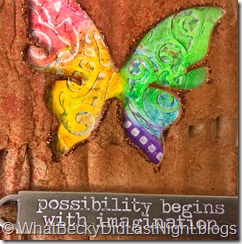
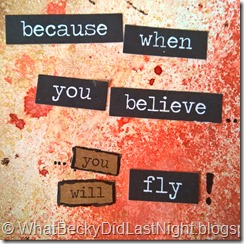
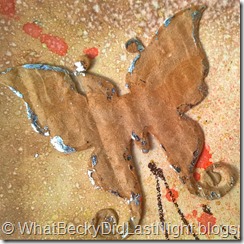
This page is my take on Tim Holtz’s March 2016 Tag.  I don’t have the Distress Crayons yet so I’ve substituted them for my Faber-Castell gelatos.  Until I get my hands on some I won’t know what the difference is but they are a fabulous medium to use.  When it comes to die-cutting in my journal I am fearless!  Just remember you won’t get up to the edge of the spine and don’t do this with an automatic machine as you won’t be able to stop when you get to the middle.  Scroll down for the speed video, list of ingredients and close up photos…

Ingredients

  • White Gesso Pebeo
  • Gloss Gel Medium by Golden
  • Cosmic Shimmer Acrylic Glue
  • Gelatos by Faber-Castell
  • Silver Foil Sheet by Gedeo
  • Tim Holtz Sticker words: Big Chat and Chit Chat
  • Idea-ology by Tim Holtz – metal band
  • Distress Inks: Walnut Stain, Ground Cappuccino and Black Soot
  • Dies: Heartfelt over the edge by Tonic and Butterflies by Spellbinders
  • Stickles – Cinnamon
  • Ink spray made using AquaTints
  • Distress Stain – Brushed Brass
  • Scrap of corrugated card board
  • Piece of twineWP_20160313_13_55_56_ProWP_20160313_13_56_17_ProWP_20160313_13_56_24_ProWP_20160313_13_56_30_Pro

Friday 4 March 2016

Art Journal: In Dreams

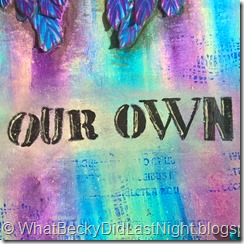
For a while I’ve been inspired by a my friend, Chloe Dawn’s, self-designed tattoo of dream catchers in the shape of an owl.  Harry Potter fans will recognise the quote from Dumbledore: “In dreams we enter a world which is entirely our own”!  Scroll down for full list of ingredients and close up colour photos…

Ingredients

  • Pebeo White Gesso
  • Faber-Castell Gelatos in all my blues and purples plus the white coconut
  • Old book page and off cuts of white card
  • Twinkling H2Os in a purple, a dark blue and pearl blue
  • Faber-Castell pitt brush pens in a light blue, a dark blue, a purple and a grey
  • Distress inks in blues and purples
  • Spectrum Noir Sparkle pens in blues and purples
  • Liquid Pearls in Royal Blue
  • Stickles in Diamond
  • Texture stamps by Sheena Douglass
  • Alpha stamps by Dove Craft and Craftwork Cards
  • Archival Black Ink by Ranger
  • Light blue gems from the supermarket
  • WP_20160304_12_55_47_ProWP_20160304_12_56_00_ProWP_20160304_12_56_15_ProWP_20160304_12_56_23_Pro

First Play and Review! Spectrum AquaBlend Pencils!

I have been having so much fun getting to know the new Spectrum AquaBlend watercolour pencils which I ordered at launch.  These are highly pigmented water colour pencils with a nice thick core.  I have other watercolour pencils from both Derwent and Faber-Castell so I wasn’t 100% sure if I really needed these ones.  However the main draw for me was the large colour palette of bright colours.  Of the complete 94 colours there are plenty of ready prepared colours spread out across the spectrum of colours.  It is also easy to navigate and purchase the sets as there are no duplicates and the tins have meaningful names.  For instance – the essentials contain all your skin tones and shading colours, whereas the florals have a vast amount of pinks, reds and yellows.

WP_20160229_17_16_30_Pro

Once I opened them up the first thing I did was scribble out a colour chart for all the colours and reference which tin that pencil came from.  The first thing I noticed was how smooth the pencils are.  I am not an expect at pencil formulas but there appears to be no grit or graininess which is amazing!  The next thing I noticed was that the colours don’t fade when the colours dry so they remain as bright as you colour them.  Apparently these pencils are lightfast for 50 – 100 years!

WP_20160229_21_14_22_Pro

Then I went ahead and stamped out some stamps by Sheena Douglass onto watercolour card.  I stamped using my black Archival ink by Ranger.  This is one of the Little Bit Magical stamps.  To get the shading I picked three tones of each colour to create a blend just as I would with my alcohol pens, coloured the pencils onto the card roughly and then used a paintbrush and clean water to make the magic happen.  Sheena designs her stamps to include indications on where the shading should go.  For smaller details such as her lips I also wet my brush and took pigment directly from the pencil and painted on.

WP_20160301_10_04_05_Pro 2

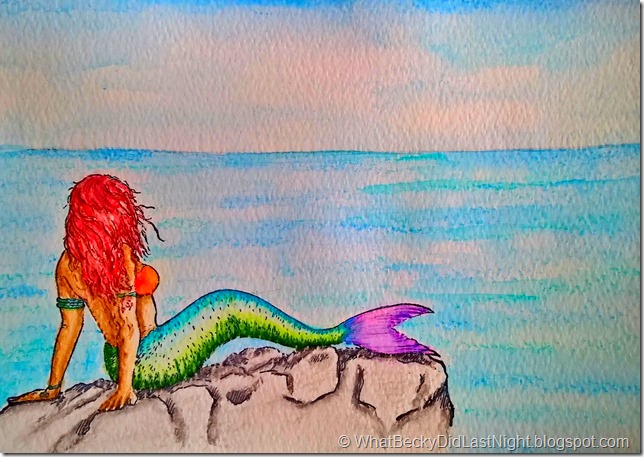
Next up I coloured in Sheena’s mermaid stamp from the same range.  I then created a very simple background of sky and sea which was very easy to do.

WP_20160304_12_35_29_Pro 1

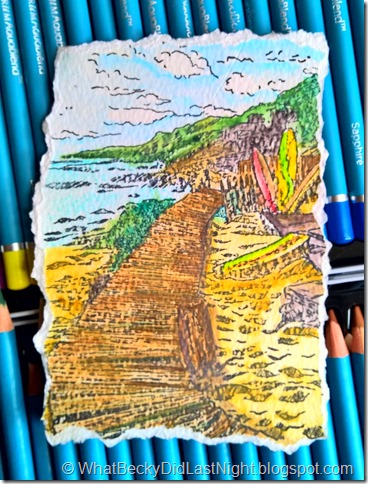
And for my next trick!  I stamped a very detailed stamp of Sheena’s called Laguna Surf and referring to my colour chart picked and chose colours as I fancied!

And guess what?  Since opening the tins I have NOT sharpened a single pencil yet!!!  Bargain!!!